🔩 3D Printing
Design Overview
The design consists of only a few modular components, each serving a specific function:
1. Cap - Nano only:
- Designed specifically for the Arduino Nano BLE Sense configuration.
- Houses the PCB and temperature sensor.
- Serves as a protective top cover and connects directly to the Nano head.
2. Head - Nano version:
- Works in combination with the Cap.
- Contains the cooling fan to ensure adequate airflow and temperature regulation.
- Provides structural support and interfaces with the middle or bottom layers.
3. Head - Nicla version:
- Designed for the Arduino Nicla.
- Includes a dedicated opening for the camera module.
- Integrates the cooling fan and serves as the top housing for this configuration (no cap required).
4. Middle layer (optional):
- Designed to house the Particulate Matter sensor (Sensirion SPS30).
- Adds air quality measurement functionality when included.
5. Bottom layer:
- Contains the battery and GPS module.
- Provides stability and mounting options for securing the device to various surfaces.
List of Parts
| File Name | Image | Supports? | Printing Time | Download |
|---|---|---|---|---|
| octopus_top_nano.stl | 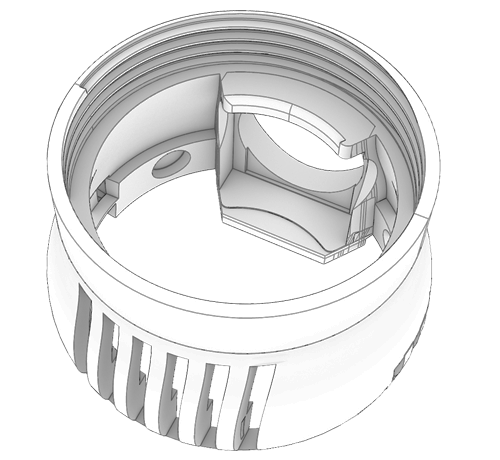 | Needed | 2h15min | Link |
| octopus_cap_nano.stl | 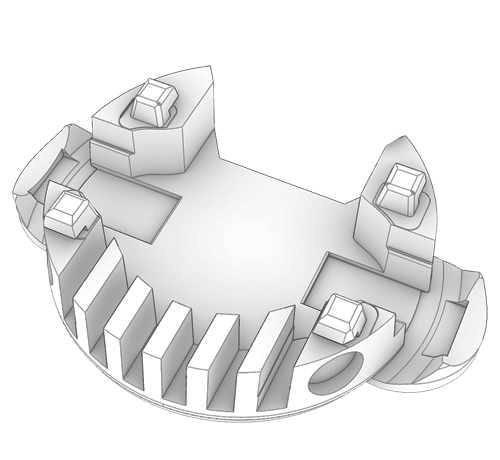 | Optional | 57m | Link |
| octopus_top_nicla.stl | 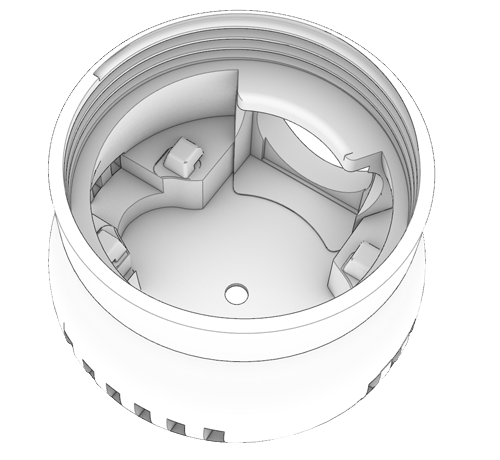 | Optional | 2h | Link |
| octopus_bottom.stl | 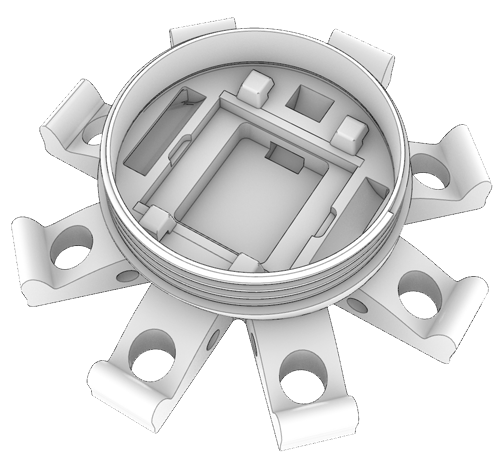 | Recommended | 2h30min | Link |
| octopus_middle.stl (optional) | 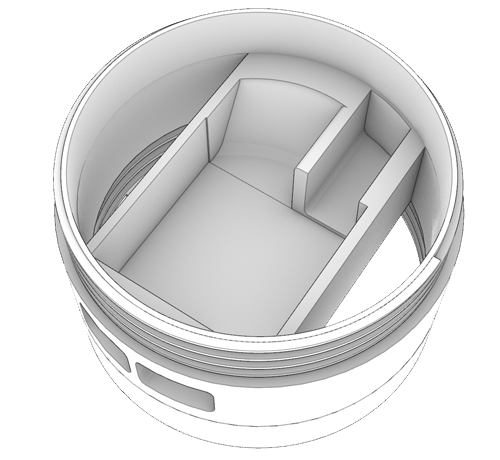 | Needed | Approx. 2h30min | Link |
3D Printing
Suggested Settings
Printing in white or light colors is strongly recommended to minimize heat absorption and prevent overheating of internal components, especially for outdoor or high-temperature environments.
Printer Settings
- Layer Height: 0.2 mm (recommended for standard quality)
- Wall Thickness: 1.2 mm
- Infill Density: 10%-20% (adjust based on strength requirements)
- Print Speed: 50-70 mm/s
- Support Type: Tree (auto), with overhang angle set to 30°
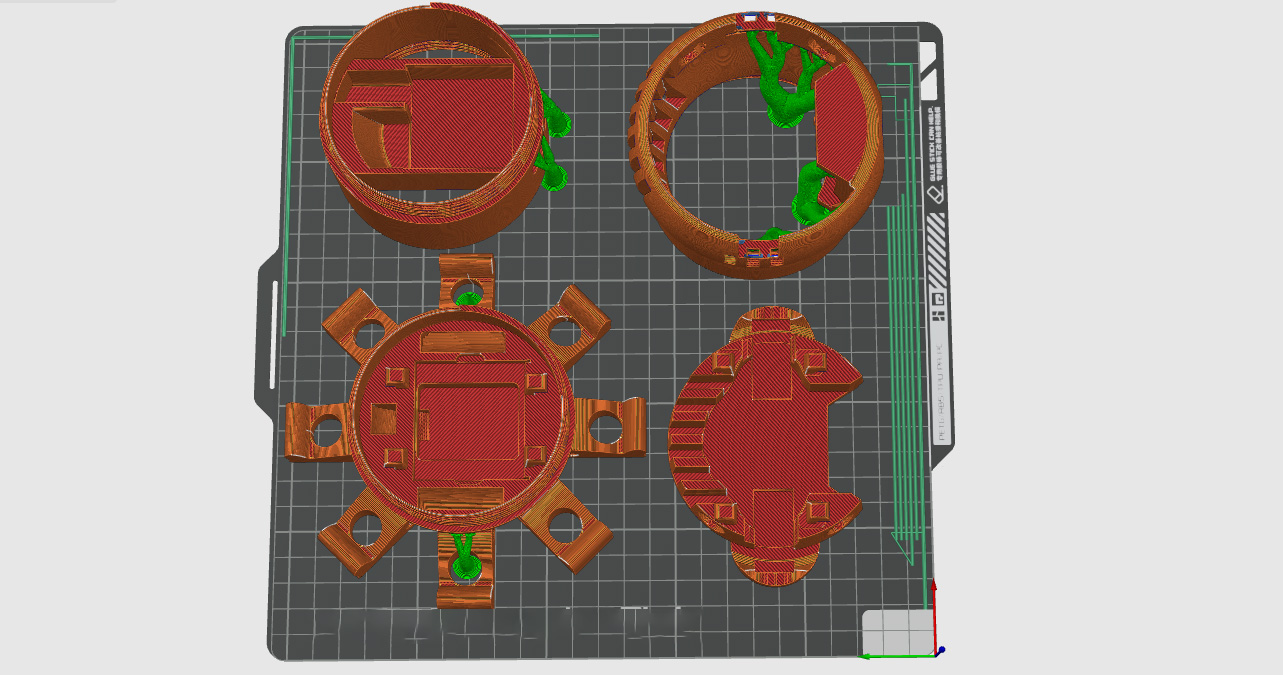
Orientation and Supports
Part orientation has a significant impact on print quality, strength, and efficiency. Components should be positioned to minimize the use of supports, which helps reduce print time, conserve material, and maintain clean surface finishes on visible or functional areas.
Whenever possible, align large flat surfaces parallel to the print bed and avoid steep overhangs by slightly rotating the part or adjusting its position. A well-chosen orientation can reduce post-processing and improve overall dimensional accuracy.
The example below illustrates a print layout that minimizes support requirements while maintaining stability during printing: